
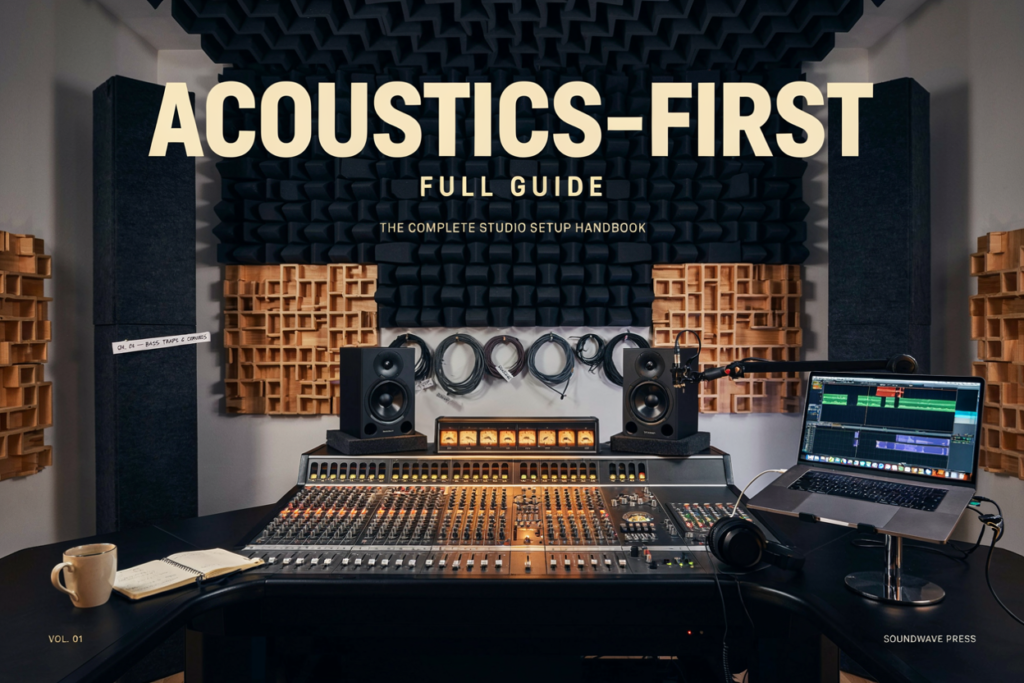
A practical recording studio setup needs a computer and DAW, an audio interface, at least one suitable microphone or instrument input, headphones or studio monitors, the correct cables, and a quiet recording space. Arrange the room before buying extra gear, test the complete signal chain, and use acoustic treatment to control reflections and low-frequency buildup.
The best setup is the smallest system that can record your sources and reproduce them reliably. In a spare room, first understand how a home studio behaves acoustically instead of treating equipment as the only priority.
What Do You Need for a Recording Studio Setup?
Every computer-based studio needs a way to capture sound, convert it to digital audio, record it, and play it back. The required equipment depends on what you record and how many sources must be captured simultaneously.
| Item | Status | Purpose |
|---|---|---|
| Computer and DAW | Essential | Records, edits, and plays audio |
| Audio interface | Essential for analog sources | Converts analog audio to digital and provides playback outputs |
| Microphone | Essential for vocals or acoustic sources | Converts sound into an electrical signal |
| Headphones | Essential for overdubbing or private monitoring | Provides playback without feeding speakers into the microphone |
| Studio monitors | Optional but useful for mixing | Provides dedicated stereo monitoring |
| Stand, pop filter, and cables | Workflow-dependent | Supports reliable placement and connections |
| MIDI controller or external processors | Optional | Controls software instruments or adds extra processing |
A solo voice setup may need one microphone input, while a drum kit may require eight or more. Choose an interface by the maximum number of sources recorded at once.
The basic signal path is:
Source → microphone or instrument input → audio interface → DAW → interface outputs → headphones or monitors
A guitar may use an instrument input, while a keyboard often uses line inputs. These connections are not interchangeable.
How Should You Choose the Studio Room?
Choose the quietest practical room with left-to-right symmetry. Listen for traffic, appliances, computer fans, HVAC systems, plumbing, and electrical hum before placing the desk.
For mixing, center the listening position between the sidewalls, but avoid the exact midpoint of the room’s length. Room modes—resonances caused by dimensions and boundaries—can make bass notes louder or quieter. A broader room acoustics guide explains why moving speakers or the listener changes low-frequency balance.
Acoustic treatment and soundproofing are different. Treatment manages reflections inside the room; isolation reduces sound passing through its structure and openings. Foam may reduce some high-frequency reflections, but it cannot soundproof a room. Review the purpose of acoustic treatment for recording spaces before covering every wall.
How Do You Connect the Recording Signal Chain?
Connect the studio in a fixed order and make a short test recording. This exposes routing, gain, noise, and monitoring problems early.
- Connect the interface and install its current driver when required.
- Connect a microphone with XLR, or connect an instrument to the correct instrument or line input.
- Enable 48-volt phantom power only when the connected microphone or active device requires it. Many condenser microphones need it; most dynamic microphones do not.
- Select the interface as the DAW’s input and output device.
- Create a track, assign its input, and enable recording.
- Set gain while the performer produces the loudest expected sound. Leave headroom and prevent clipping.
- Connect headphones or monitors to the interface outputs and begin at a low level.
- Record silence and a short performance, then check for distortion, hum, room noise, delay, and routing errors.
Direct monitoring routes the input through the interface instead of making a computer round trip. It reduces the delay heard by performers, although DAW effects may not be present.
How Should Studio Monitors Be Positioned?
Start with the listener and two monitors forming an equilateral triangle. The speakers should create an angle of about 60 degrees at the listening position, remain at equal heights and distances, and aim toward the listener.
Place tweeters near ear height unless the manufacturer specifies otherwise. Keep both speakers on stable supports and preserve matching surroundings. Follow the manufacturer’s wall-distance guidance because no universal measurement suits every monitor and room.
How Should You Treat Recording Studio Acoustics?
Treat confirmed problems first: early reflections, bass buildup near boundaries, and flutter echo between hard parallel surfaces. Treatment should improve clarity without making the room unnaturally dead.
Control early reflections
Broadband absorbers at the sidewall and ceiling reflection areas can reduce reflections that blur stereo imaging. Panel depth affects how low in frequency an absorber remains useful; thin decorative foam mostly affects high frequencies. This guide to acoustic panels and placement provides further context.
Manage low frequencies
Bass traps are thicker absorbers intended to work lower than typical foam tiles. Corners and wall-ceiling boundaries are common starting areas, but placement should respond to the room. A focused explanation of bass trapping in small rooms can help distinguish real bass control from surface treatment.
How Do You Arrange a Vocal or Instrument Recording Area?
Place the microphone where the direct sound is strong and objectionable reflections or noises are weak. There is no universal distance: test several positions with the performer present and choose the best tone before applying EQ.
For vocals, use a stable stand, place a pop filter between the singer and capsule, and aim the microphone according to its pickup pattern. Prevent headphone leakage. Treatment around the performer can reduce reflections, but surrounding the microphone with thin foam is not a substitute for good placement.
A cardioid microphone is least sensitive toward its rear, so aim that side toward an unavoidable noise when practical. A condenser may reveal more room sound; a dynamic microphone can be easier in a noisy room. Compare approaches in this vocal booth acoustics guide.
How Do You Test the Finished Studio Setup?
Test the system with silence, speech, representative instruments, and familiar music. Change one variable at a time so you know what caused an improvement.
| Problem | Likely cause | First check |
| Distortion | Input clipping or wrong input type | Lower gain and confirm the input |
| Hum | Cable, power, grounding, or connected device | Disconnect devices individually and test a known-good cable |
| Monitoring delay | Large buffer or software path | Try direct monitoring or a lower buffer |
| Echoey voice | Strong nearby reflections | Move the performer and microphone |
| Uneven bass | Placement and room modes | Test small speaker and listener movements |
| Unstable stereo image | Asymmetry or early reflections | Recheck distances, angles, and sidewall treatment |
Record several seconds of silence at normal gain; headphones may reveal fans or interference. Then record the loudest expected performance and confirm that no peak clips.
Play familiar reference tracks and check whether centered sounds appear centered. Compare your work on another playback system. For critical monitoring, ideal RT60 targets vary with room volume and purpose.
What Recording Studio Setup Mistakes Should You Avoid?
The costliest mistakes come from buying equipment before defining the workflow. Correct placement, routing, and noise problems before assuming new gear will solve them.
Avoid buying too few inputs, confusing treatment with isolation, placing monitors by appearance, recording too hot, and using thin foam while ignoring bass. Test all positions before permanently treating the room. Understanding how absorption varies by material and frequency explains why similar products may not control the same frequencies.
Frequently Asked Questions
How much equipment does a beginner need for a recording studio?
A beginner can start with a computer, DAW, audio interface, microphone, headphones, stand, and cables. Add equipment only when the workflow requires it.
Can you set up a recording studio in a bedroom?
Yes. A bedroom can support good recordings when background noise, microphone placement, monitoring position, and reflections are managed carefully. Identify its limitations through testing rather than expecting acoustic perfection.
Do you need both studio monitors and headphones?
No, but they reveal different problems. Closed-back headphones help prevent playback leakage, while well-positioned monitors provide a natural stereo presentation; checking both can improve translation.
Does acoustic foam soundproof a recording studio?
No. Foam absorbs some reflected sound inside a room, mainly at higher frequencies, but it does not provide the mass, airtight construction, and structural separation needed for sound isolation.
Where should a microphone be placed in a home studio?
Place it away from obvious noise and strong reflective boundaries, then test several source distances and room positions. Choose the placement that captures a balanced direct sound with acceptable room tone.
Should acoustic treatment be installed before studio equipment?
Establish the approximate desk, monitors, listening position, and recording area first. Test those positions, identify audible problems, and then place treatment where it addresses them.

Noah Bennett is an audio engineering writer and acoustics specialist at Reverb Calculator. He focuses on reverb time calculation, room acoustics, studio sound design, and music production tools for producers, audio engineers, musicians, and home studio creators.