
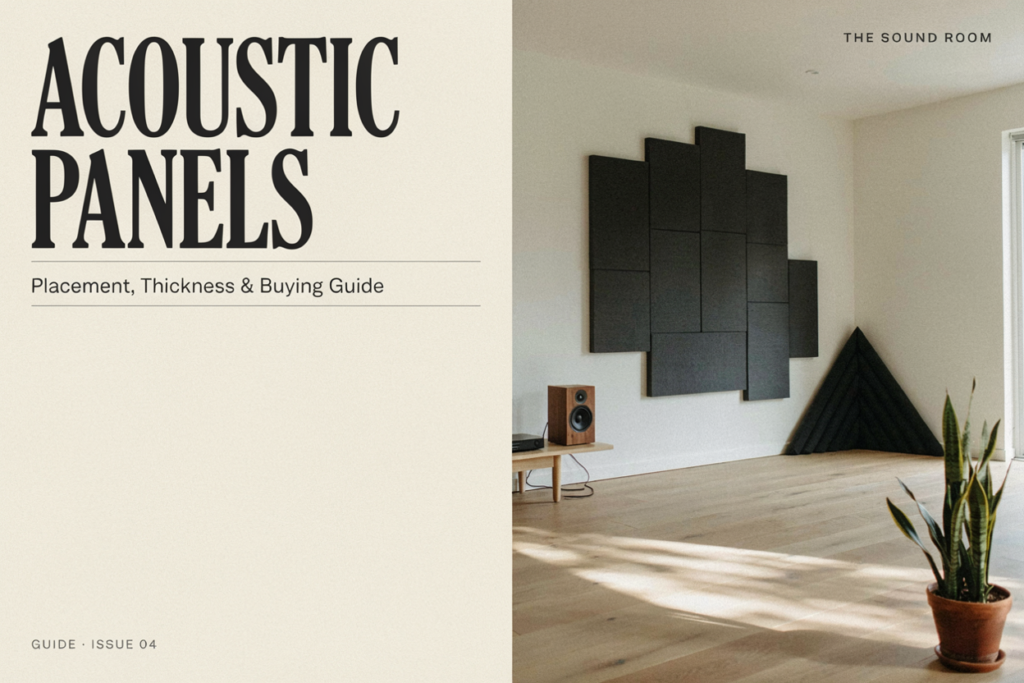
Acoustic panels are sound-absorbing treatments that reduce reflections, flutter echo, and excessive reverberation inside a room. They can improve recording clarity, speech intelligibility, and stereo imaging, but they do not soundproof a room or stop sound passing through its structure.
The best results come from treating a specific problem rather than covering walls at random. Speaker position, panel depth, mounting, and frequency-specific performance all affect what you hear. Before buying materials, start with the principles in this room acoustics guide.
What Do Acoustic Panels Do?
Acoustic panels absorb part of the sound that reaches them, reducing the energy reflected back into the room. Most studio panels are porous absorbers: air movement from a sound wave passes through a fibrous or open-cell material, where friction converts a small portion of that acoustic energy into heat.
Early reflections and stereo imaging
Direct sound travels straight from a speaker to your ears. Reflected sound arrives later after bouncing from room surfaces. A strong early reflection can create comb filtering—alternating boosts and cancellations across the spectrum—and make stereo placement less precise.
Panels placed at important reflection points reduce those competing arrivals. They do not improve the loudspeaker itself, but they make it easier to hear the speaker without as much room coloration.
Reverberation and flutter echo
Repeated reflections create reverberation, the continuing decay after a source stops. Hard, parallel surfaces can produce flutter echo, heard as rapid metallic ringing after a handclap. Strategic absorption can make speech, vocals, and transients clearer.
Room treatment should remain balanced. Covering every surface with thin absorbent material may remove too much high-frequency energy while leaving low-frequency resonance largely unchanged. A practical acoustic treatment strategy combines placement, absorption, bass control, and sometimes diffusion.
Are Acoustic Panels the Same as Soundproofing?
Acoustic panels and soundproofing solve different problems. Panels manage reflections within a room; sound isolation reduces transmission between rooms through walls, ceilings, floors, doors, windows, ventilation paths, and structural connections.
A wall-mounted absorber adds little barrier mass and does not seal air leaks. Effective isolation usually relies on construction principles such as airtightness, mass, decoupling, and damping.
This distinction matters when diagnosing a studio. Boxy vocals or flutter echo call for treatment, while traffic noise entering through a window is an isolation problem. Even a well-designed vocal recording space needs both concerns evaluated separately.
How Do You Compare Acoustic Panel Performance?
Compare acoustic panels using frequency-specific absorption coefficients, the tested mounting configuration, panel dimensions, and thickness. NRC and SAA are useful summaries, but neither rating fully describes low-frequency performance.
Absorption coefficient, NRC, and SAA
An absorption coefficient describes measured absorption at a frequency band. ASTM C423 compares decay in a reverberation room with and without the specimen.
The Noise Reduction Coefficient, or NRC, is the rounded average of absorption coefficients at 250, 500, 1,000, and 2,000 Hz. The Sound Absorption Average, or SAA, averages more one-third-octave bands from 200 to 2,500 Hz. Because these are summary values, two panels with similar ratings can perform differently at 125 or 250 Hz. The detailed absorption coefficient data are therefore more useful when matching a panel to a specific problem.
Measured coefficients can exceed 1.00 because calculations include mounting and edge effects; this does not represent more than 100 percent physical absorption.
Thickness and air gaps
Thicker porous panels generally cover a broader range and extend farther toward lower frequencies. Density alone is not a reliable shortcut.
An air gap can improve lower-frequency performance by increasing the absorber’s effective working depth. Results still depend on the material and installation.
Where Should Acoustic Panels Be Placed?
Place acoustic panels where they address the strongest unwanted reflections, beginning with symmetrical first-reflection points in a listening room. Finalize the loudspeaker and listening positions before permanently mounting treatment.
Sidewalls and ceiling
Have another person move a mirror along each sidewall while you sit at the listening position. Where you see a speaker estimates a first-reflection area. Treat both sides symmetrically, then consider a ceiling cloud.
The mirror method is a starting point, not acoustic measurement. A structured home studio acoustics plan keeps placement decisions in order.
Recording areas, rear walls, and corners
For recording, reduce reflections reaching the microphone. Pickup pattern, source direction, and wall distance influence placement, so one panel behind the microphone is not a universal solution.
Rear-wall treatment can reduce strong returns, while panels on parallel surfaces can control flutter. Corners suit deep low-frequency absorbers. Thin wall panels are not automatically effective bass traps.
How Many Acoustic Panels Do You Need?
There is no universal panel count. The required coverage depends on room volume, surface materials, furnishings, intended use, panel performance, loudspeaker placement, and the room’s measured or audible decay.
Use this treatment order:
- Set the speaker and listening positions.
- Listen to familiar material and measure the untreated room when possible.
- Treat the left and right first-reflection areas symmetrically.
- Add a ceiling cloud if the ceiling reflection is significant.
- Address rear-wall returns and flutter echo.
- Add deeper low-frequency control where decay remains uneven.
- Recheck the room after each change.
Combine listening with frequency-response and decay measurements. Appropriate room reverberation time depends on volume and whether the space serves mixing, recording, speech, or listening.
Acoustic Panels vs. Foam, Bass Traps, and Diffusers
These treatments are not interchangeable. Choose according to the acoustic action required.
| Treatment | Main action | Common use | Main limitation |
|---|---|---|---|
| Broadband panel | Absorbs a useful range of reflections | Early reflections and excess decay | Limited deep-bass control when shallow |
| Thin acoustic foam | Absorbs mainly mid and high frequencies | Flutter echo and light reflection control | Can leave bass decay untreated |
| Bass trap | Controls lower-frequency energy | Corners, boundaries, and modal decay | Requires greater depth or specialized design |
| Diffuser | Redistributes reflected sound | Preserving spaciousness while weakening distinct reflections | Needs suitable distance and room geometry |
| Isolation assembly | Reduces transmission between spaces | Walls, floors, ceilings, doors, and openings | Requires construction, not surface decoration |
Diffusion can preserve spaciousness but does not suit every small room. First understand how acoustic diffusion works and whether listening distance is sufficient.
What Acoustic Panel Mistakes Should You Avoid?
Common mistakes include buying by NRC alone, treating before positioning speakers, expecting sound isolation, covering every wall with shallow material, and treating the listening area asymmetrically.
Diagnose the symptom before adding coverage:
| Symptom | Likely issue | Practical next check |
| Metallic handclap ring | Flutter between hard surfaces | Treat one or both opposing surfaces |
| Blurred center image | Strong unequal early reflections | Verify symmetry and sidewall placement |
| Boxy vocal recording | Nearby room reflections | Move the performer and microphone, then test treatment |
| Long or uneven bass notes | Modal decay or boundary buildup | Test deeper corner or boundary absorption |
| Dull highs but lingering bass | Unbalanced thin absorption | Stop adding thin panels and assess low frequencies |
Change one variable at a time and compare before and after to identify what improved the room.
Frequently Asked Questions
Do acoustic panels soundproof a room?
No. Panels reduce internal reflections; soundproofing reduces transmission through walls, doors, windows, floors, ceilings, and air paths.
Are acoustic panels better than acoustic foam?
Broadband panels can extend into the low-midrange, while thin foam mainly affects mids and highs. Choose using verified frequency data.
How thick should acoustic panels be?
There is no universal thickness. Thicker porous panels generally extend absorption toward lower frequencies, but material properties, mounting, air gap, and test results should guide the choice.
Does an air gap behind a panel improve absorption?
An air gap can improve lower-frequency absorption by increasing the effective working depth away from the rigid wall. The benefit depends on the absorber and gap depth, so use tested mounting data when available.
Can you install too many acoustic panels?
Yes. Excessive shallow absorption can make high frequencies unnaturally dull while bass decay remains uncontrolled. Add treatment in stages and reassess the room after each change.
Should panels go behind the speakers or behind the listener?
Either location may matter, but neither is universally first. Prioritize speaker placement and symmetrical early-reflection control, then assess front-wall and rear-wall reflections based on room geometry, speaker design, and listening distance.

Noah Bennett is an audio engineering writer and acoustics specialist at Reverb Calculator. He focuses on reverb time calculation, room acoustics, studio sound design, and music production tools for producers, audio engineers, musicians, and home studio creators.